Photographing Fall Color in the Smokies: A Technique Guide
Published Oct 27, 2026
Fall in the Smokies is one of the great color shows in the country — mile after mile of ridgeline turning gold, orange, and deep red as autumn works its way down the mountains. It's also deceptively hard to photograph well. The scene in front of you is overwhelming, and the photo you take often comes back flat and muddy, nothing like what your eye saw. The difference is rarely the camera; it's technique. Here's how to actually capture Smoky Mountain fall color, whether you're shooting on a phone or a full kit.
None of this requires expensive gear. A phone in good light, used thoughtfully, beats an expensive camera used carelessly. These are the habits that make the difference.
Shoot in the right light
This is the single biggest lever you have. Harsh midday sun flattens color and blows out the sky; soft light makes leaves glow. Aim for the golden hours just after sunrise and before sunset, when the light is warm and low and rakes across the ridges. An overcast day is a gift for fall color, not a disappointment — flat, even light saturates reds and oranges and removes the harsh shadows that midday sun throws. And backlighting is your secret weapon: position yourself so the sun shines through the leaves rather than onto them, and they light up like stained glass. The same tree looks ordinary lit from the front and spectacular lit from behind.
Use the mountains' layers
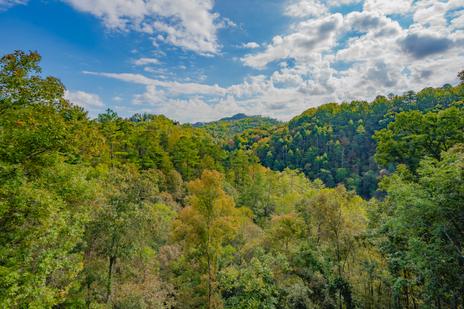
What makes the Smokies special is depth — ridge behind ridge, fading into the famous blue haze. Flat photos ignore that; strong ones use it. Look for compositions with a clear foreground, middle, and background: a splash of close color, a valley, then the layered ridgelines beyond. Early morning, when fog and haze settle between the ridges, is when that depth is most dramatic, and it's why the overlooks along the park's roads are worth getting to early. Let the receding layers do the work of showing scale.
Compose with intention
Don't photograph "everything"
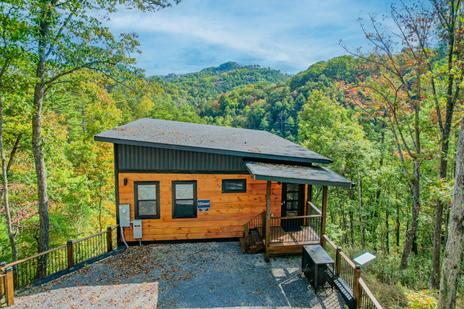
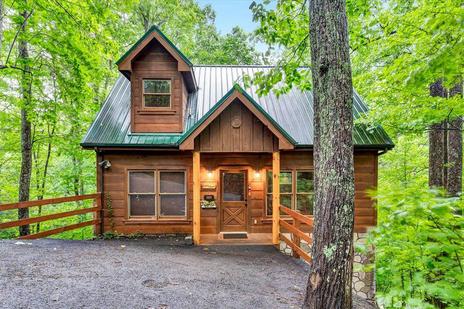
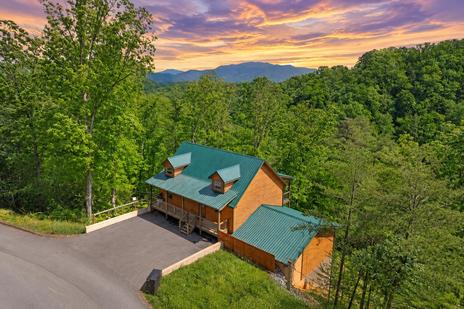
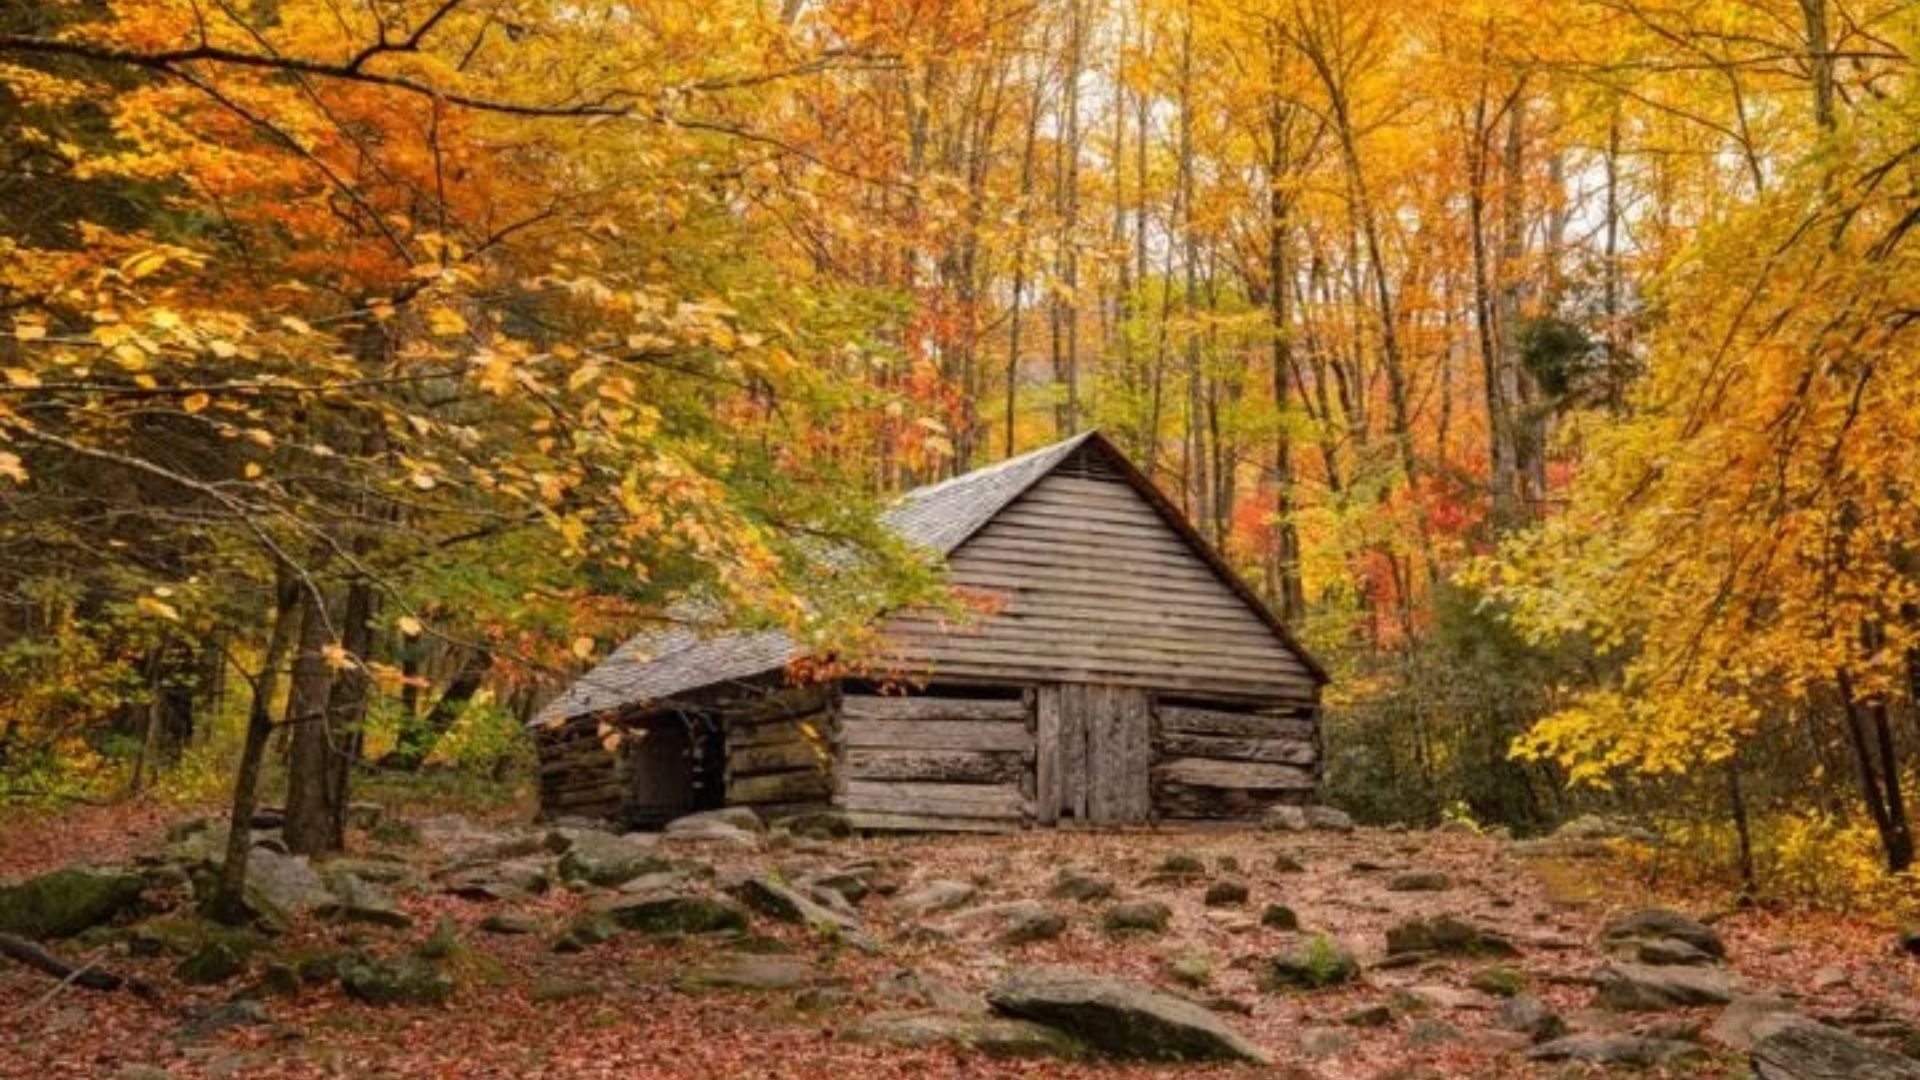
The instinct is to capture the whole sweeping view, and that's exactly what produces a cluttered, flat image. Pick one subject — a single blazing tree, a bend in a stream, a lone cabin against the color — and build the frame around it. A photo needs somewhere for the eye to land.
Find a focal point and a lead-in
A winding road, a stream, a split-rail fence, or a trail draws the viewer's eye into the scene and toward your subject. These lead-in lines turn a pretty view into a composition.
Mix your scales
Don't shoot only grand vistas. Some of the best fall images are intimate — a few backlit leaves, color reflected in still water, frost on a single red maple leaf. Alternate between the wide landscape and the small detail and you'll come home with a far richer set.
A few technical touches
Tap to expose for the bright areas — on a phone, tap the brightest part of the scene (or the leaves themselves) and nudge the exposure down slightly so colors stay rich instead of washing out. On a camera, slightly underexposing protects the saturation.
Steady the shot in low light — golden hour and shaded streams mean less light. Brace against a tree or railing, or use a small tripod, so dawn and dusk frames stay sharp.
Try a polarizer if you have one — a polarizing filter cuts the glare off wet leaves and water and deepens the sky, which makes autumn color noticeably richer. Phone clip-on versions exist too.
Include water — the Smokies are full of streams, and wet rocks and leaves hold color beautifully. A slow shutter to blur a cascade against fall foliage is a classic Smokies shot.
Where to point the camera
You don't have to go far. The overlooks along the park's main roads give you the layered-ridge shots, especially at dawn. Roaring Fork wraps you in close forest color and old cabins — ideal for the intimate, backlit frames. Cades Cove pairs open meadow, historic structures, and surrounding ridges for classic foreground-and-mountains compositions, and it's a strong spot for early light. And because the Smokies' color moves down the mountains over several weeks — starting high and dropping to the valleys — you can often find a good scene somewhere across the elevation range for a surprisingly long stretch of the season. For where and when the color peaks, see our Smoky Mountain fall foliage guide.
Frequently asked questions
Do I need an expensive camera for fall color photos?
No. A modern phone in good light, used with these techniques, produces excellent fall images. Light, composition, and timing matter far more than the camera — a great shot at golden hour on a phone beats a careless midday shot on a pro body.
What time of day is best for shooting fall color?
The golden hours just after sunrise and before sunset, when low warm light rakes across the ridges. Overcast days are also excellent — soft, even light saturates the reds and oranges. Harsh midday sun is the hardest light to work with.
How do I capture the depth of the mountains?
Compose with a clear foreground, middle, and background so the layered ridgelines show scale, and shoot early when fog and haze settle between the ridges. That receding, hazy depth is what makes a Smokies fall photo look like the Smokies.
Why do my fall photos look flat and dull?
Usually harsh light, no clear subject, and slight overexposure washing out the color. Shoot in soft or golden light, pick one focal point instead of the whole view, and expose a touch darker to keep the reds and oranges rich.
Where are the best photo spots in the Smokies for fall?
The road overlooks for layered-ridge vistas at dawn, Roaring Fork for intimate forest and cabin color, and Cades Cove for open meadows framed by ridges. Because color moves down the elevations over weeks, there's usually a good scene somewhere through much of the season.
The best fall light happens early and late, so staying right in the mountains means you can be at an overlook at sunrise instead of driving in for it. Find a fall cabin rental near the park, and plan your shots with our guides to fall foliage and the best fall hikes.