How to Capture Stunning Photos of Your Cabin Rental
Published Aug 18, 2024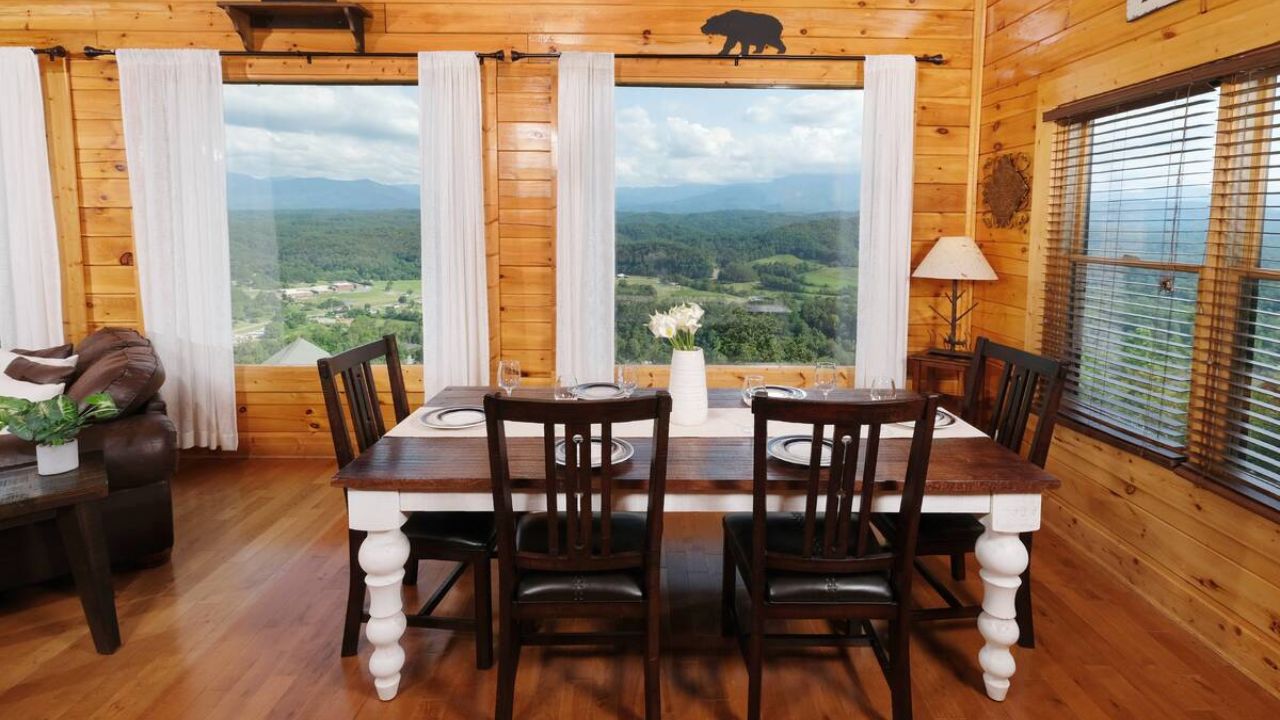
Whether you're shooting your own listing photos or just want to understand what a professional photographer is doing differently, here's a practical walkthrough of what actually makes cabin photos convert.
Prep the space before you shoot
Clean and declutter first. Personal items and clutter distract from the space itself — clear counters, straighten furniture, and remove anything that doesn't belong in a rental listing.
Stage intentionally. Fresh linens, a set dining table, a fire lit in the fireplace, a book on the coffee table — small staging touches help guests picture themselves in the space rather than looking at an empty room.
Maximize natural light. Open every curtain and blind before shooting. For evening or interior shots without much natural light, turn on all fixtures rather than relying on a single lamp.
Equipment that actually matters
A wide-angle lens captures more of a room in a single frame than a phone camera typically can — this is the single biggest quality gap between amateur and professional cabin photos.
A tripod eliminates blur and enables the longer exposures often needed in lower-light interior shots.
Supplemental lighting (softbox or LED panels) helps in rooms where natural light alone leaves shadows or dark corners.
Composition basics
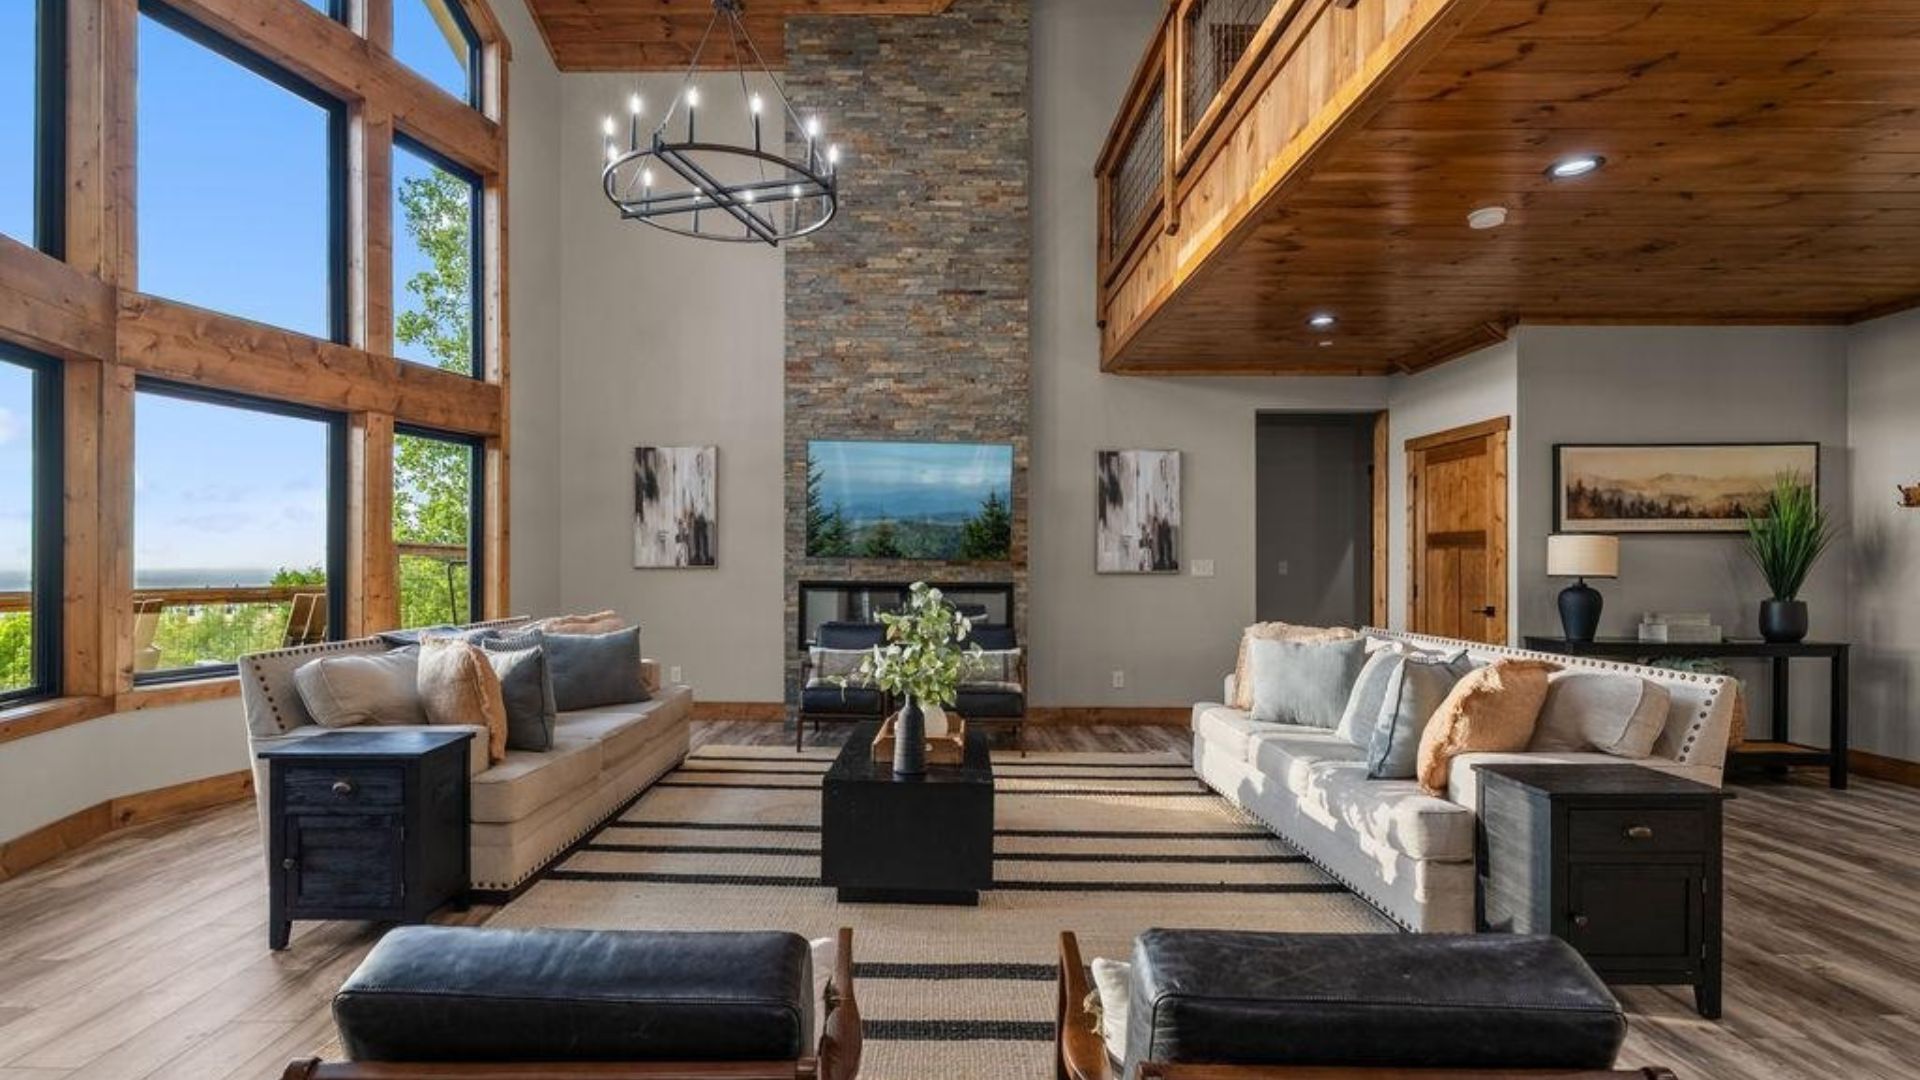
Rule of thirds. Position key elements — a fireplace, a bed, a view — along the grid lines rather than dead center for a more balanced shot.
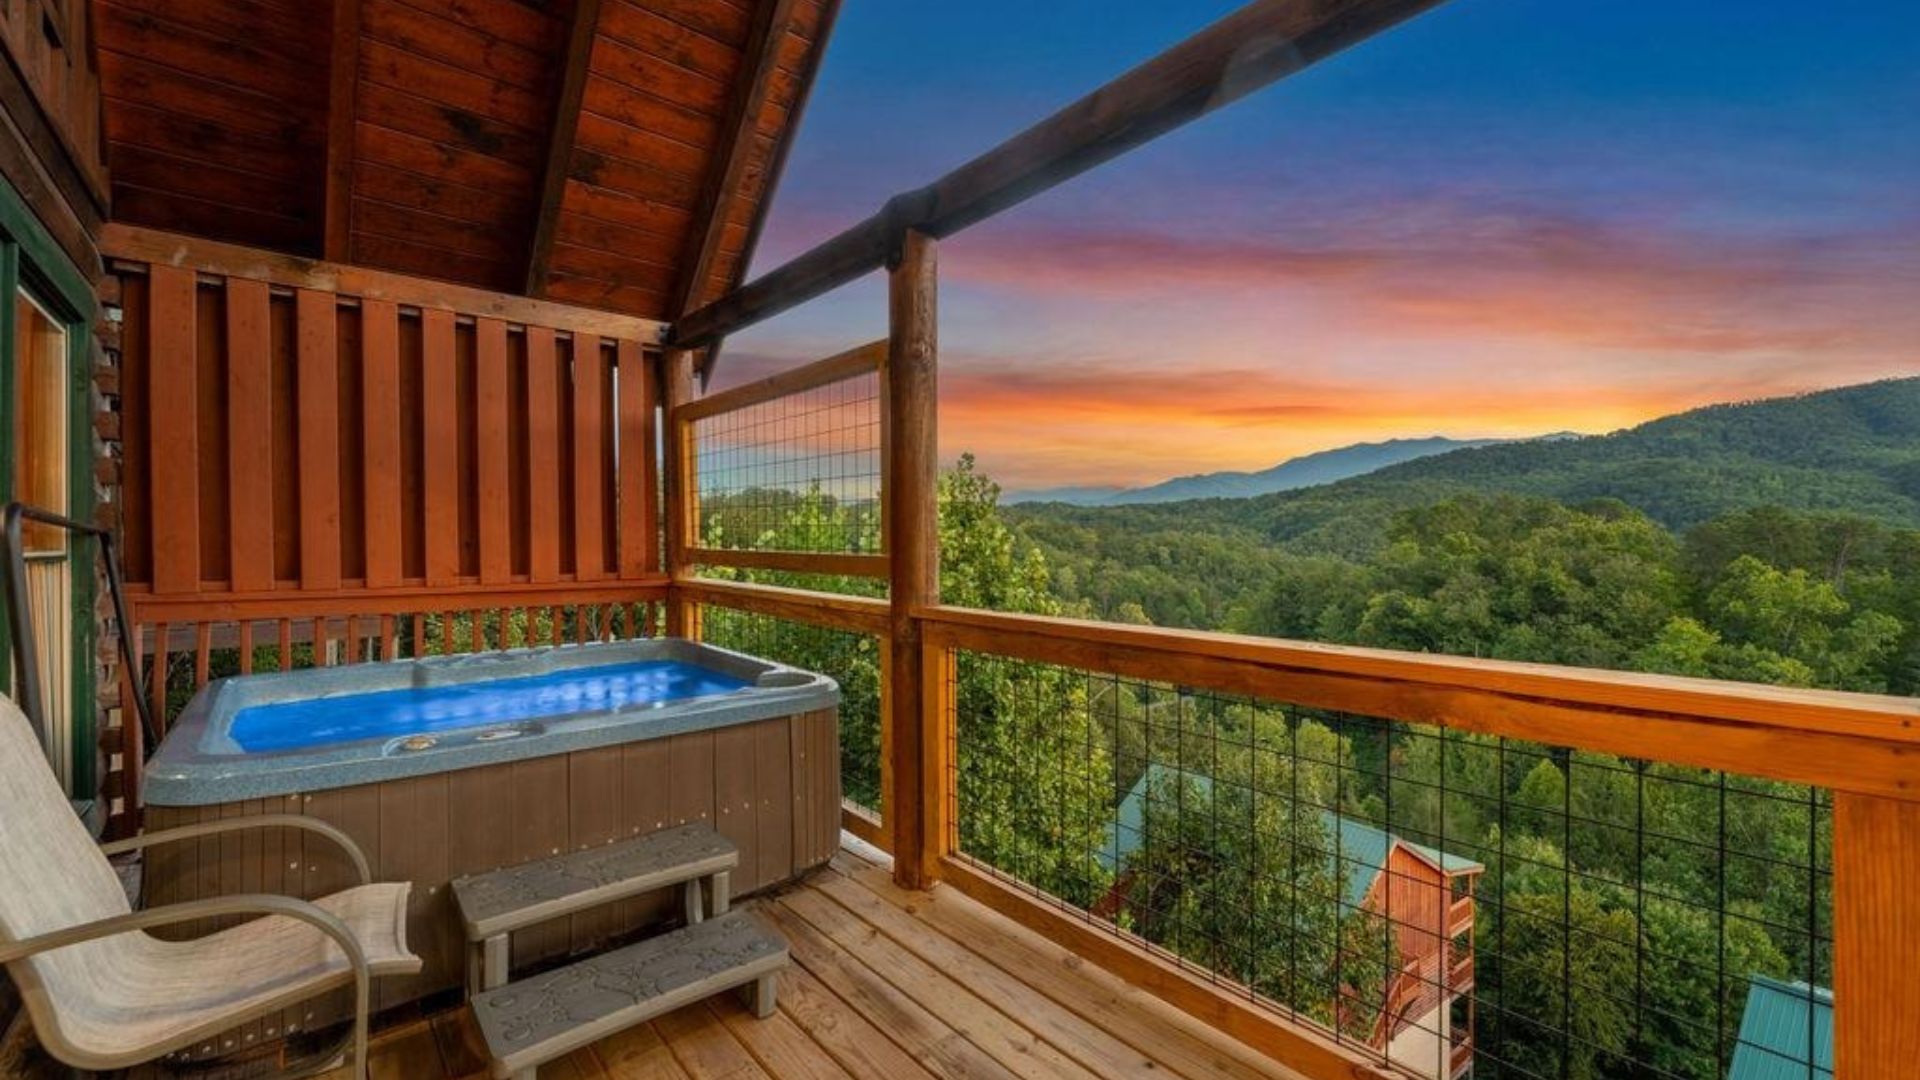
Lead the eye. Use natural lines (a hallway, a row of chairs, a deck railing) to draw the viewer toward the room's focal point.
Shoot multiple angles. A lower angle can make a room feel larger; a higher angle shows the full layout. Try both before settling on the final shot.
What to capture
- Exterior and approach — the full front of the cabin, surrounding landscape, and any outdoor amenities
- Interior focal points — stone fireplaces, vaulted ceilings, exposed beams, and any standout architectural detail
- Amenity-specific shots — hot tub, game room, and other bookable features each need their own dedicated photo, not a glimpse in the background of another shot
- Seasonal variety — photographing the same cabin across different seasons keeps a listing feeling current and shows off year-round appeal
Editing without overdoing it
Basic adjustments to brightness, contrast, and shadows make a real difference in how polished a photo reads. Correcting lens distortion (wide-angle lenses can bow straight lines) keeps rooms looking accurate rather than warped. Boost colors modestly — over-editing reads as inauthentic and can create a mismatch between the listing and the guest's actual arrival.
Frequently asked questions
Is a smartphone camera good enough for listing photos?
It can work in a pinch, but the wide-angle distortion and lower dynamic range of most phone cameras limit how professional the final images look compared to a proper camera and lens — this is usually the biggest single quality gap.
How often should cabin listing photos be reshot?
Whenever there's a renovation, furniture change, or significant décor update, and otherwise on a seasonal basis if the cabin markets on a seasonal draw like fall foliage or snow.
Is it worth hiring a professional instead of shooting these myself?
For most owners, yes — see the impact of professional photography on booking rates for the ROI case. This guide is useful either for owners shooting interim updates themselves or for understanding what a professional is doing differently.
Prefer to skip the DIY route entirely? Contact us today — professional photography is included for every cabin in our full-service management program.